Linux - Multi-OS
Created by : Mr Dk.
2019 / 09 / 15 10:55
Nanjing, Jiangsu, China
Ubuntu 硬盘分区
这台计算机已经安装了多个操作系统。您准备怎么做?
(选择刚才割出的空余的磁盘空间)
- [ ] 安装 Ubuntu,与其他系统共存
- [ ] 清除整个磁盘并安装 Ubuntu
- [x] 其它选项
这里与传统的 MBR boot 方式不同,不再需要单独分一个 /boot。
第一个分区,用于安装系统内核。选择空闲空间,点击 +
- 大小 - 30720MB (30GB)
- 新分区的类型 -
逻辑分区 - 新分区的位置 -
空间起始位置 - 用于 -
Ext4 日志文件系统 - 挂载点 -
/
第二个分区,用作 swap space。选择空闲空间,点击 +
- 大小 - 2048MB
- 新分区的类型 -
逻辑分区 - 新分区的位置 -
空间起始位置 - 用于 -
交换空间
第三个分区,用于用户数据。选择空闲空间,点击 +
- 大小 - 剩余所有空间
- 新分区的类型 -
逻辑分区 - 新分区的位置 -
空间起始位置 - 用于 -
Ext4 日志文件系统 - 挂载点 -
/home
安装启动引导器的设备 : - 这是安装系统 boot loader 的位置。找到系统上已经有的 EFI System Partition (ESP) 分区,将 boot loader 安装到这里。在这个分区的 efi 目录下,每一个子目录都是一个系统的 boot loader。
Swap File
交换空间 (Swap Space) 是磁盘上用于暂时保存 RAM 中不常用数据的空间。当 RAM 的空间不够使用时,OS 会将 RAM 中的部分数据暂时存放到 swap space 中,进而给活跃的程序腾出内存。Swap space 由内核的内存管理程序使用,以页面为单位进行对换。
在 Linux 中,可以专门在磁盘上划分出一个 swap 分区,也可以在文件系统中创建一个指定大小的文件 swap file 作为 swap 空间。Swap space 的推荐大小因硬件而异,也因运行软件的需求而异。一般推荐的大小:
- RAM < 2GB - RAM 的两倍大小
- RAM 2-8GB - RAM 相同大小
- RAM 9-64GB - 0.5 倍 RAM 大小
- RAM > 64GB - 按应用程序需求而定
我的工作机器在安装 Linux 时没有单独划分 swap space,内存只有 8GB。在运行实验程序时,内存几近用完。系统自动为我分配的一个 2GB 的 swap file 似乎也不太够用。于是我决定将 swap file 扩充为 16GB。
首先,需要停止使用机器上现有的 swap file,即需要把 swap file 中暂存的内存搬回真正的物理 RAM 中去,相当于卸载一个分区:
$ sudo swapoff /swapfile
此时,我正好开着任务管理器,发现 swap 分区中的数据被一点一点地搬回内存,内存占用率瞬间升高。当任务管理器显示 swap space 已经禁止使用时,swap file 就正式停止工作了。可以使用 rm 命令将其删掉。
接下来,新建一个 16GB 的 swap file,并设置其权限:
$ sudo fallocate -l 16G /swapfile
$ sudo chmod 0600 /swapfile
接下来将 swap file 设置为 swap space:
$ sudo mkswap /swapfile
Setting up swapspace version 1, size = 16 GiB (17179865088 bytes)
no label, UUID=6c4feed5-2e17-477b-b097-88bc85c6dd2e
最后启用 swap space:
$ sudo swapon /swapfile
任务管理器中重新显示了 swap space,并已经被扩容为 16GB。这就是挺喜欢 Linux 的地方 - 一切自己动手。 😁
GRUB Default Boot Order
改一下双系统的默认启动顺序。我的大本本装着 Windows 10 + Ubuntu 18.04 的双系统,每次启动时,如果不人为选择,GRUB 超时后自动启动 Ubuntu。有时候我人不在电脑边,开着 Windows,但它因为 Windows Update 自动重启了,结果给我重启到 Ubuntu 里面去了......
人在外面的我,想连 Windows 的远程桌面:???网断了??? 😂 回到实验室发现,哦,电脑已经在 Ubuntu 的登录界面等着了。
理论上应当想到,要改 GRUB 的配置文件。但是 GRUB 的配置文件是生成的,不建议手动修改:
$ sudo vim /boot/grub/grub.cfg
#
# DO NOT EDIT THIS FILE
#
# It is automatically generated by grub-mkconfig using templates
# from /etc/grub.d and settings from /etc/default/grub
#

### BEGIN /etc/grub.d/00_header ###
所以已经有了提示,需要编辑 /etc/grub.d 和 /etc/default/grub
$ cd /etc/grub.d
$ ls
00_header        10_linux      20_memtest86+  30_uefi-firmware  41_custom
05_debian_theme  20_linux_xen  30_os-prober   40_custom         README
$ vim README
All executable files in this directory are processed in shell expansion order.

  00_*: Reserved for 00_header.
  10_*: Native boot entries.
  20_*: Third party apps (e.g. memtest86+).

The number namespace in-between is configurable by system installer and/or
administrator.  For example, you can add an entry to boot another OS as
01_otheros, 11_otheros, etc, depending on the position you want it to occupy in
the menu; and then adjust the default setting via /etc/default/grub.
所以,/etc/grub.d 目录下都是些可执行文件,没什么好改的。只需要在 /etc/default/grub 中调整默认启动顺序就好了:
$ sudo vim /etc/default/grub
# If you change this file, run 'update-grub' afterwards to update
# /boot/grub/grub.cfg.
# For full documentation of the options in this file, see:
#   info -f grub -n 'Simple configuration'

GRUB_DEFAULT=2
GRUB_TIMEOUT_STYLE=hidden
GRUB_TIMEOUT=0
GRUB_DISTRIBUTOR=`lsb_release -i -s 2> /dev/null || echo Debian`
GRUB_CMDLINE_LINUX_DEFAULT="quiet splash"
GRUB_CMDLINE_LINUX=""

# Uncomment to enable BadRAM filtering, modify to suit your needs
# This works with Linux (no patch required) and with any kernel that obtains
# the memory map information from GRUB (GNU Mach, kernel of FreeBSD ...)
#GRUB_BADRAM="0x01234567,0xfefefefe,0x89abcdef,0xefefefef"

# Uncomment to disable graphical terminal (grub-pc only)
#GRUB_TERMINAL=console

# The resolution used on graphical terminal
# note that you can use only modes which your graphic card supports via VBE
# you can see them in real GRUB with the command `vbeinfo'
#GRUB_GFXMODE=640x480

# Uncomment if you don't want GRUB to pass "root=UUID=xxx" parameter to Linux
#GRUB_DISABLE_LINUX_UUID=true

# Uncomment to disable generation of recovery mode menu entries
#GRUB_DISABLE_RECOVERY="true"

# Uncomment to get a beep at grub start
#GRUB_INIT_TUNE="480 440 1"
其中,GRUB_DEFAULT 原先为 0,对应我的本本上的 Ubuntu。Window Boot Manager (即 Windows) 在 GRUB 列表上为第三个,因此将这个值修改为 2。
根据该文件中的说明,修改该文件后,需要运行 update-grub 来生成最终的 GRUB 配置文件 /boot/grub/grub.cfg:
$ sudo update-grub
Sourcing file `/etc/default/grub'
Generating grub configuration file ...
Found linux image: /boot/vmlinuz-4.15.0-63-generic
Found initrd image: /boot/initrd.img-4.15.0-63-generic
Found linux image: /boot/vmlinuz-4.15.0-62-generic
Found initrd image: /boot/initrd.img-4.15.0-62-generic
Found linux image: /boot/vmlinuz-4.15.0-60-generic
Found initrd image: /boot/initrd.img-4.15.0-60-generic
Found Windows Boot Manager on /dev/nvme0n1p2@/EFI/Microsoft/Boot/bootmgfw.efi
Adding boot menu entry for EFI firmware configuration
done
重启之后,在 GRUB 中默认进入 Windows 了诶~ 😁
Fixing
一台电脑上装了三个系统:
- Windows 10
- Ubuntu 18.04
- Deepin
直接把 deepin 的空间给回收了,但 GRUB 记录没有清理。重新开机以后直接进入了 GRUB 的命令行,无法自动 boot 了。
进入 Windows 10
首先输入 GRUB 命令 ls,列出本机上所有的硬盘及其分区:(hd0,1) (hd0,2) (hd1,1) ...,然后输入 ls (hd0,1)/ 即可查看分区中的文件系统目录。通过这种方式,找到 Windows 10 的 boot 分区。
找到 boot 分区后,使用 set root=(hd0,2) 来设置当前目录,然后在文件目录中寻找 /efi/Microsoft/Boot/bootmgfw.efi。
chainloader /efi/Microsoft/Boot/bootmgfw.efi
然后最终输入 boot 命令即可引导启动。
启动完毕后,试图安装一些基于 Win 的引导修复软件。但是基本上都要收费,而且也没有修复成。所以尝试进入 Ubuntu 系统进行修复。
进入 Ubuntu
使用 U 盘制作一个 Ubuntu 启动盘,然后从 U 盘启动,并进入试用模式。然后下载 boot-repair 自动修复:
$ sudo add-apt-repository ppa:yannubuntu/boot-repair && sudo apt update
$ sudo apt install -y boot-repair
$ boot-repair
GPU Problem
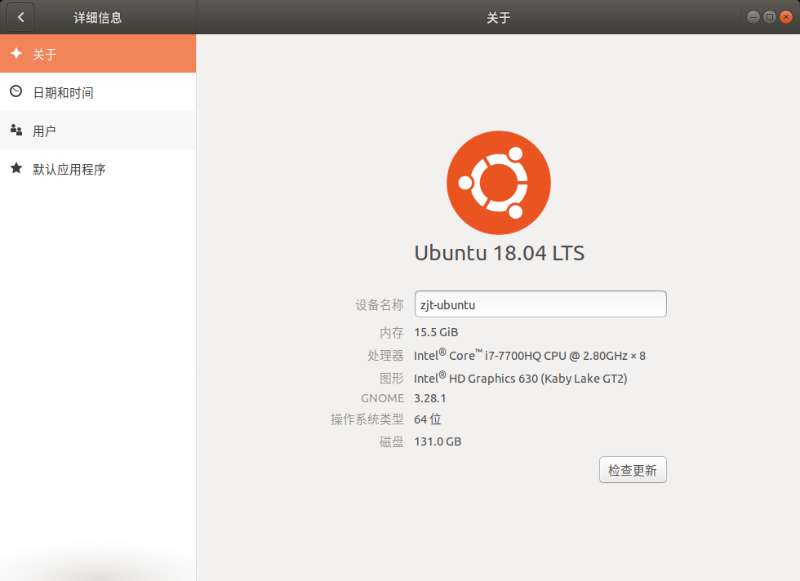
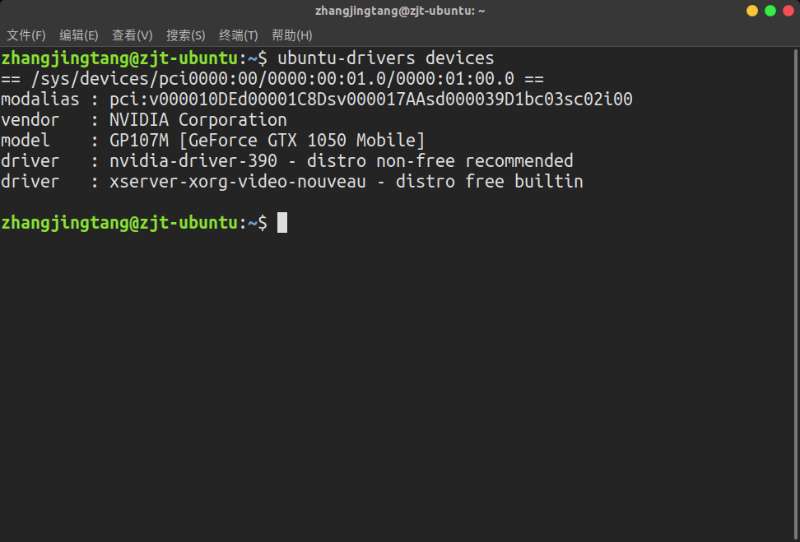
系统安装完毕后重启,结果整个界面卡死,应该是显卡冲突的问题。进入系统后,发现 Ubuntu 使用了集成显卡,没有使用 NVIDIA。

因此需要安装 NVIDIA 的附加驱动:
$ ubuntu-drivers devices

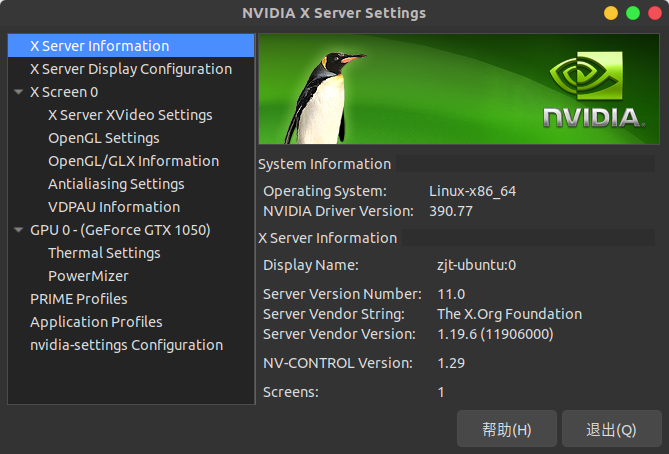
$ sudo ubuntu-drivers autoinstall
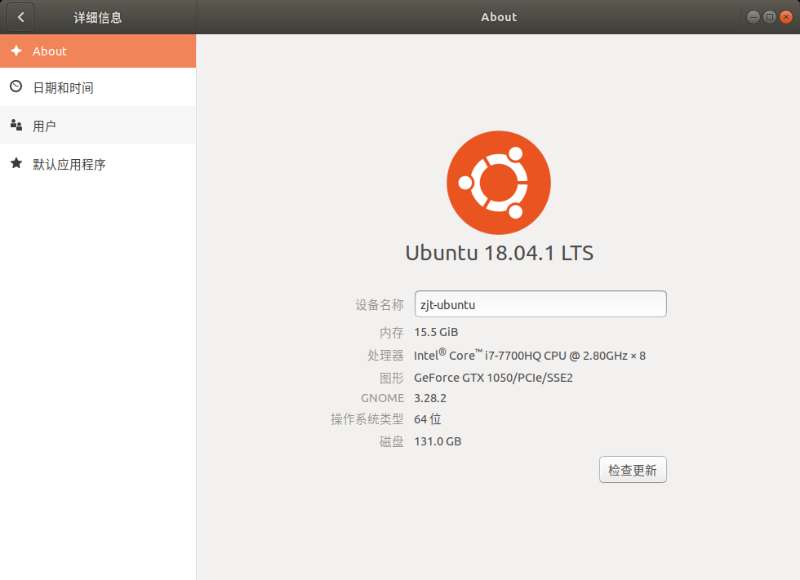
之后重启电脑,查看效果:

